


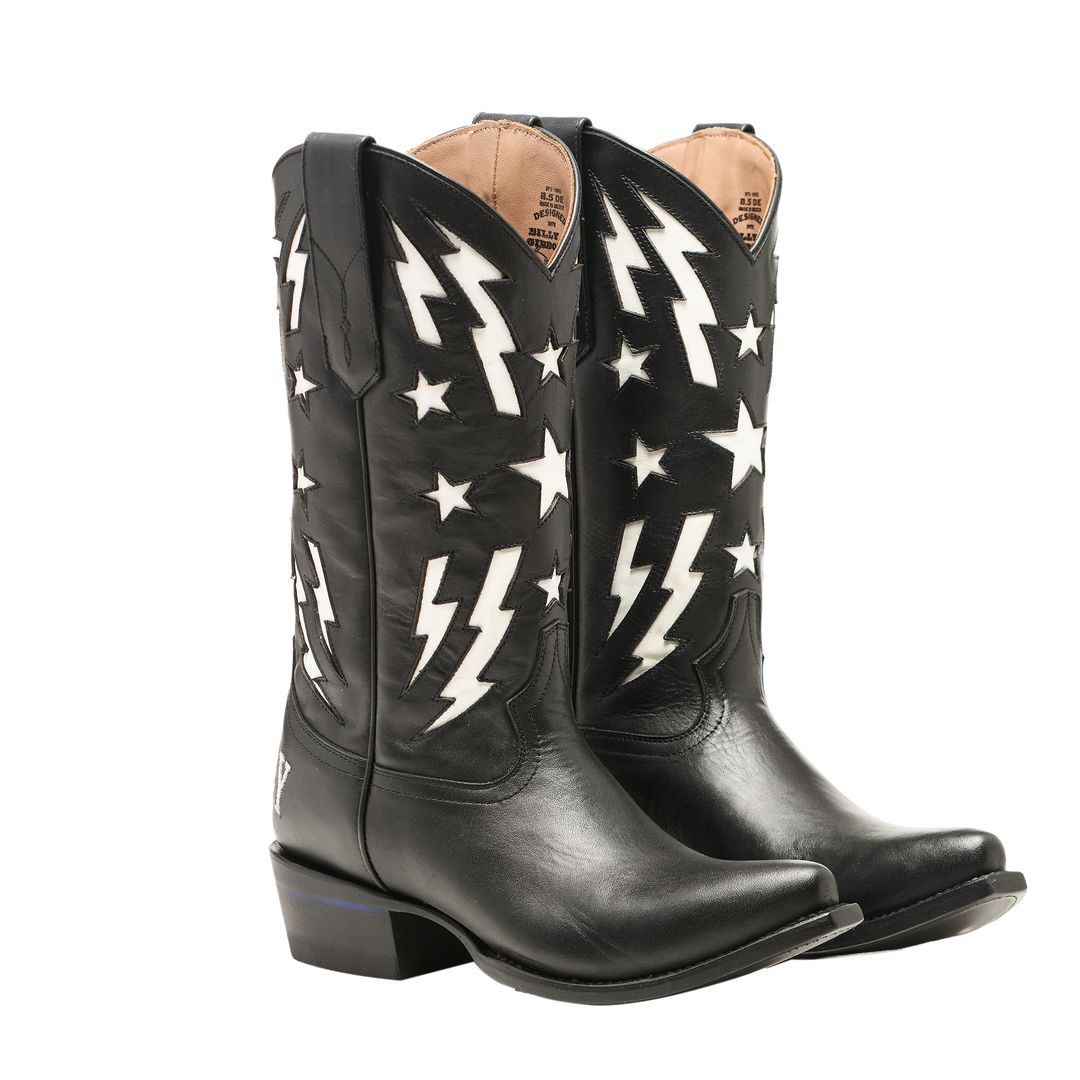
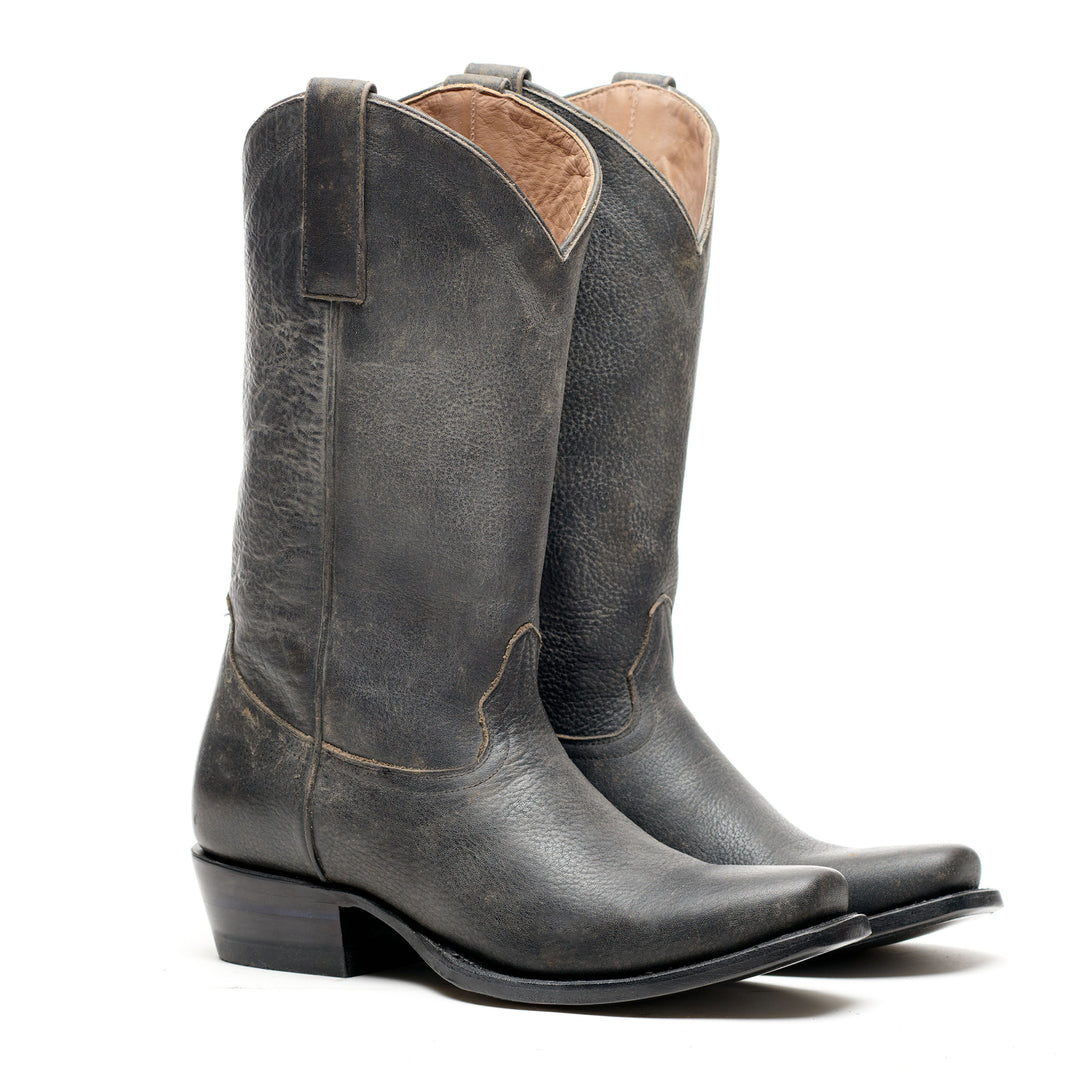
Some boots take a long time to break-in. Our proprietary Fast Break-In Fit makes it much easier than the other guys, so you shouldn’t need to do anything to break them in. But we also support your love of cowboy boots, and we got ya if you are having issues with a different brand of boots. Put simply - you can break-in cowboy boots The Easy Way or The Hard Way. So, pick your poison.
THE EASY WAY:
There are a few options. Mix and match to your liking. Or try them all if you’re the indulgent type.

Consider wearing cushioned socks for your first few wears. It might take a few sessions, but it will have your feet feeling more comfortable in time - we just can’t tell you how long.
To speed it up, you can steam those suckers. From the inside. Because who doesn’t love a good sauna? Your boots want to relax a little too. Using a garment steamer or a kettle, direct the flow of steam toward the area you want to stretch for about 15 seconds at a time. Then test with the touch of your feet. If it still feels too firm after round one, then steam and repeat. Once it feels softer, put them on and take a walk. Ideally, you will wear them until they fully cool off and dry out, so they can conform to your foot. But if you aren’t quite feeling like Cinderella yet, remove them once they have cooled a bit, and let them air dry. Don’t use a blow-dryer or any other heat source to assist the process or you might damage the leather. When they fully dry, give them a nice condition with a product that complements your leather type (we prefer Bickmore products on most). Remember, they like specificity. No vague compliments over here. If done without care, it can sacrifice the integrity of the leather or the dye treatment.

You can give them a little underwater submersion. This is an old classic, but it can be intimidating. Much like with the steaming method, it is a bit messy, and can potentially alter the color and texture of the leather. But like they say, it’s all about the motion in the ocean. Water naturally lubes the fibers in the boot to encourage it to hug every curve of your foot. It is best done in lukewarm water. Submerge them as much as possible. Use your hands to hold the insoles down so they don’t float up to the top of your tub, bucket, or trough. Once you feel a little wetness in the sole, pull them free from the container. Now go barefoot, or put your socks on and walk around until they are as close to dry as possible. Once dry, condition them with an appropriate product to keep them from cracking. It is best to start this in the morning during a nice warm day so you have time and temperature on your side.
 Freeze a bag of water inside them. The boots need to fit in your freezer. This is a good method for someone that wants to experiment with incremental passive stretches. It’s mostly for freeing up space in the toe area. As per science, when water freezes, it expands – so take advantage of the laws of nature and fill a gallon-sized ziploc with water (about ½ or ¾ of the way full). Zip it with as little air inside as possible. Toss it around to make sure it is fully sealed. We don’t want any leakage. Then insert it snuggly into the toe portion of your boot. You can put socks or newspaper behind the water bag to keep it in place if needed. Now leave it in the freezer for at least 8 hours. Let that expansion do the stretching for you, then thaw the bag out, and remove it. This is great for small stretches and for alleviating pressure to make enough room for the both of you in bunion town. It is a labor of love, but definitely less intrusive than a full dip in the watering hole.
Use a proper boot stretcher. This one requires the most money, the least effort, and will cause the least cracking and color alteration to your boots. It doesn’t need any fancy footwork either. Make sure you get shoe stretching spray for the insides beforehand – it helps relax the boot material. Once inserted, turn the handle clockwise. Do this about 3 to 4 times for a decent stretch. When you have your desired width set, leave the device in the boot for 6-8 hours or more. Then turn it back counterclockwise to release. Not the DIY type? Take your boots to your local shoe repair shop, and for a price, they will put them on a boot stretcher for you.
THE HARD WAY:
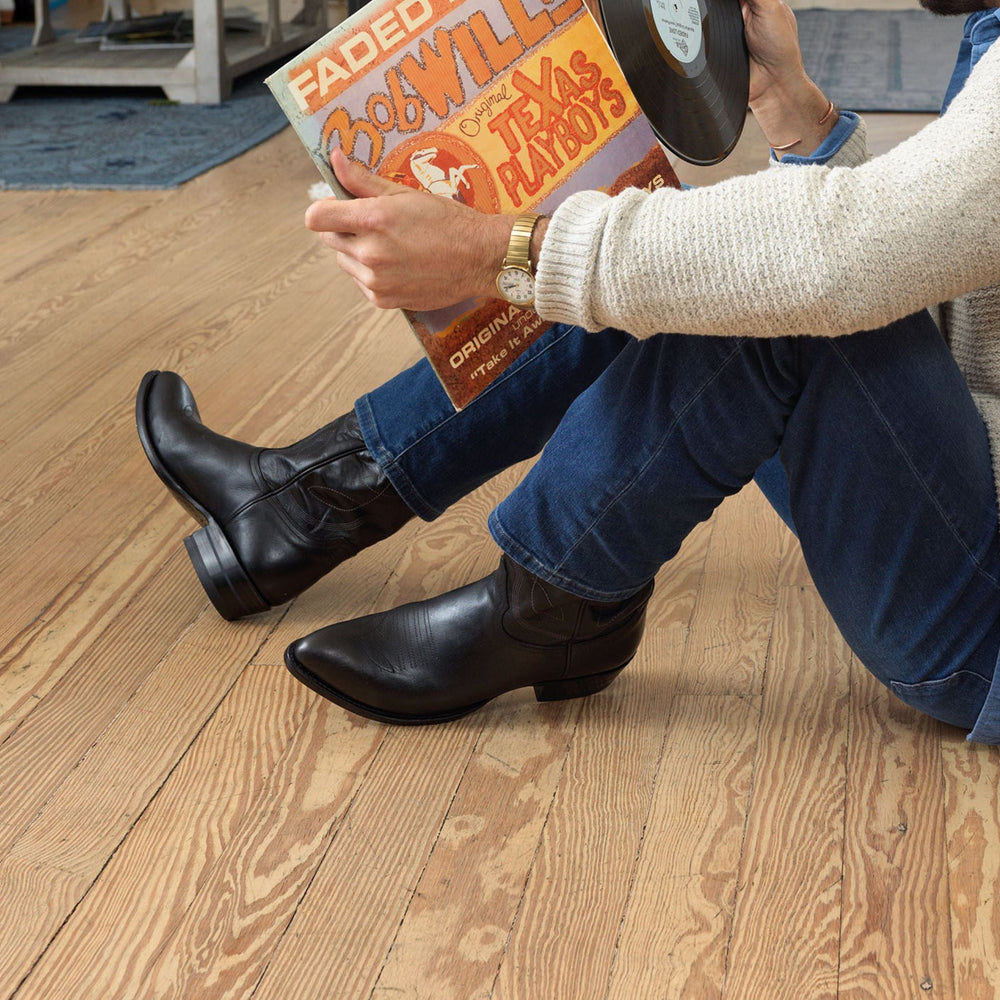
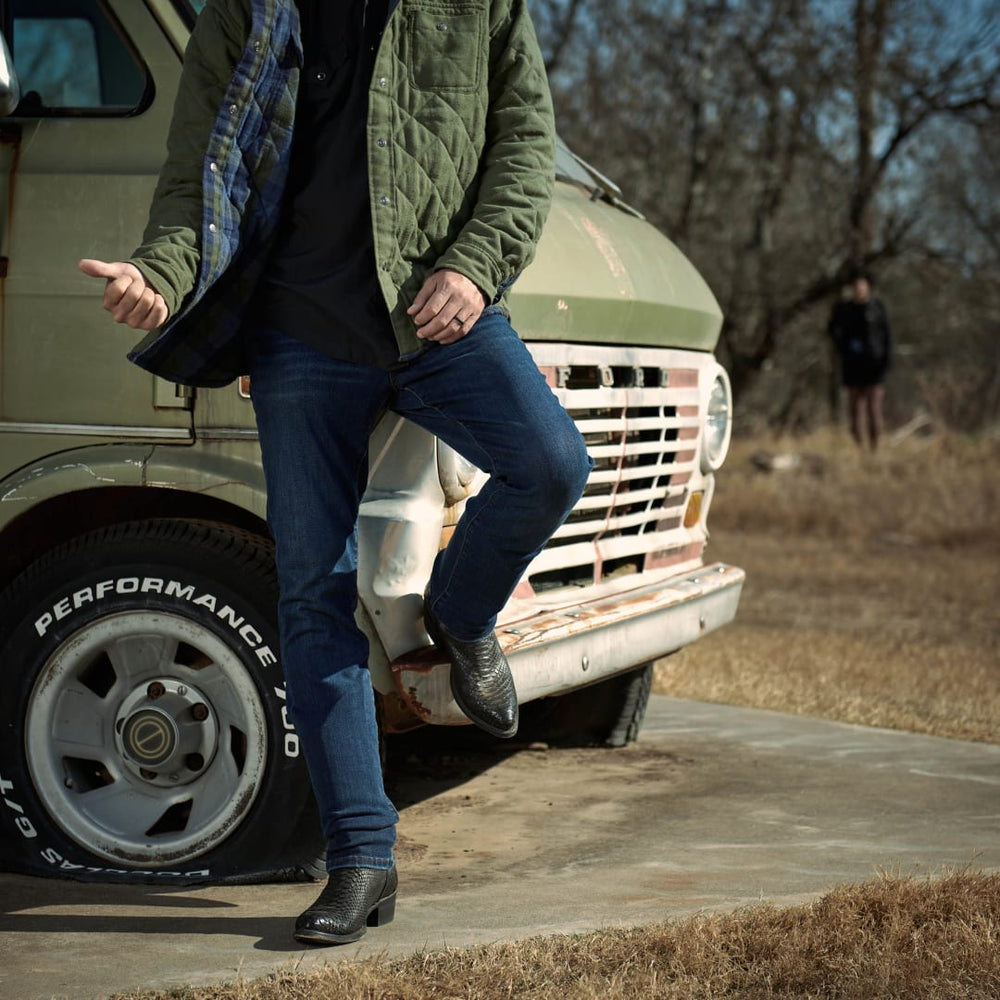
Wear them until your boots begin to trust you. Or you begin to trust them. But leather will usually form to your foot over time. And there is nothing better than a boot that is formed to your foot. It’s just all about how long you can stand it before they break.
THE ALTERNATIVE:
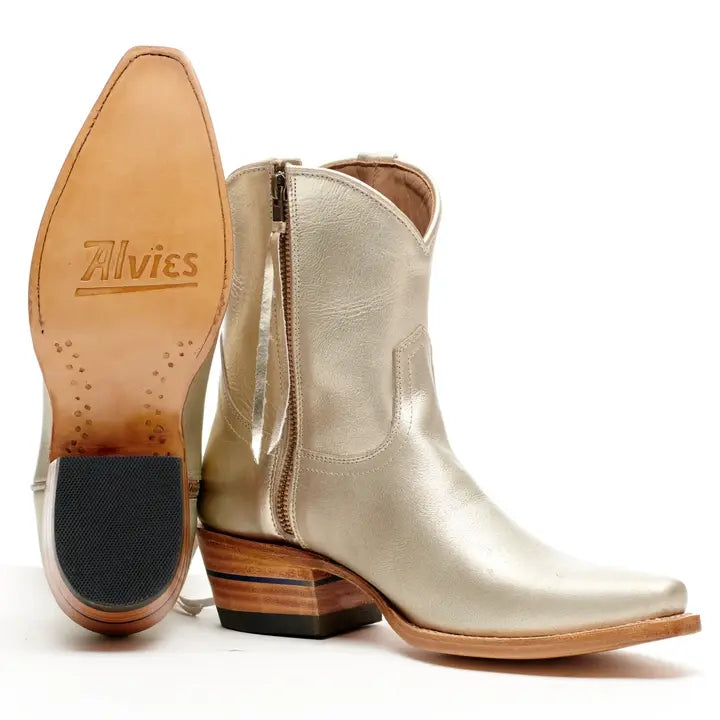
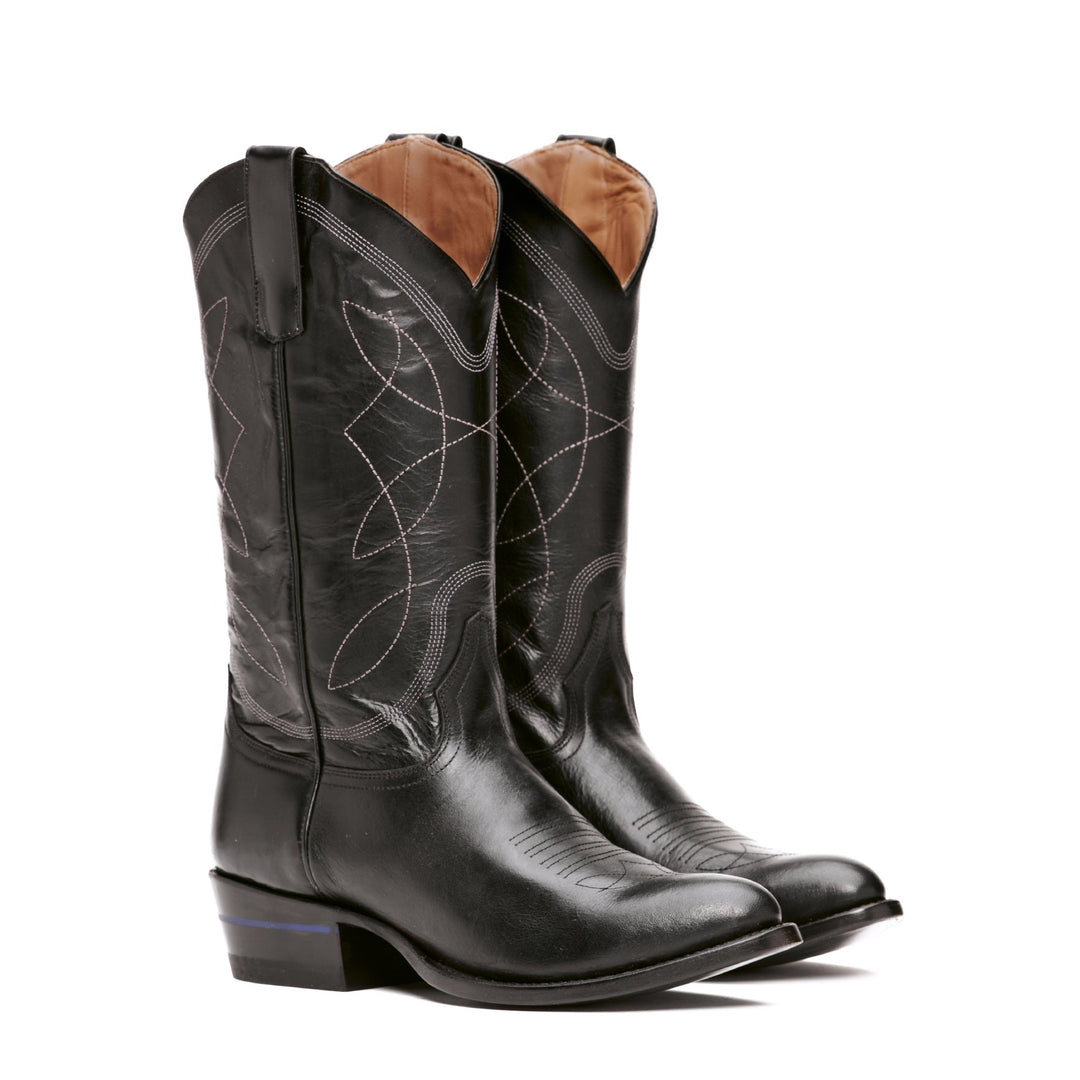
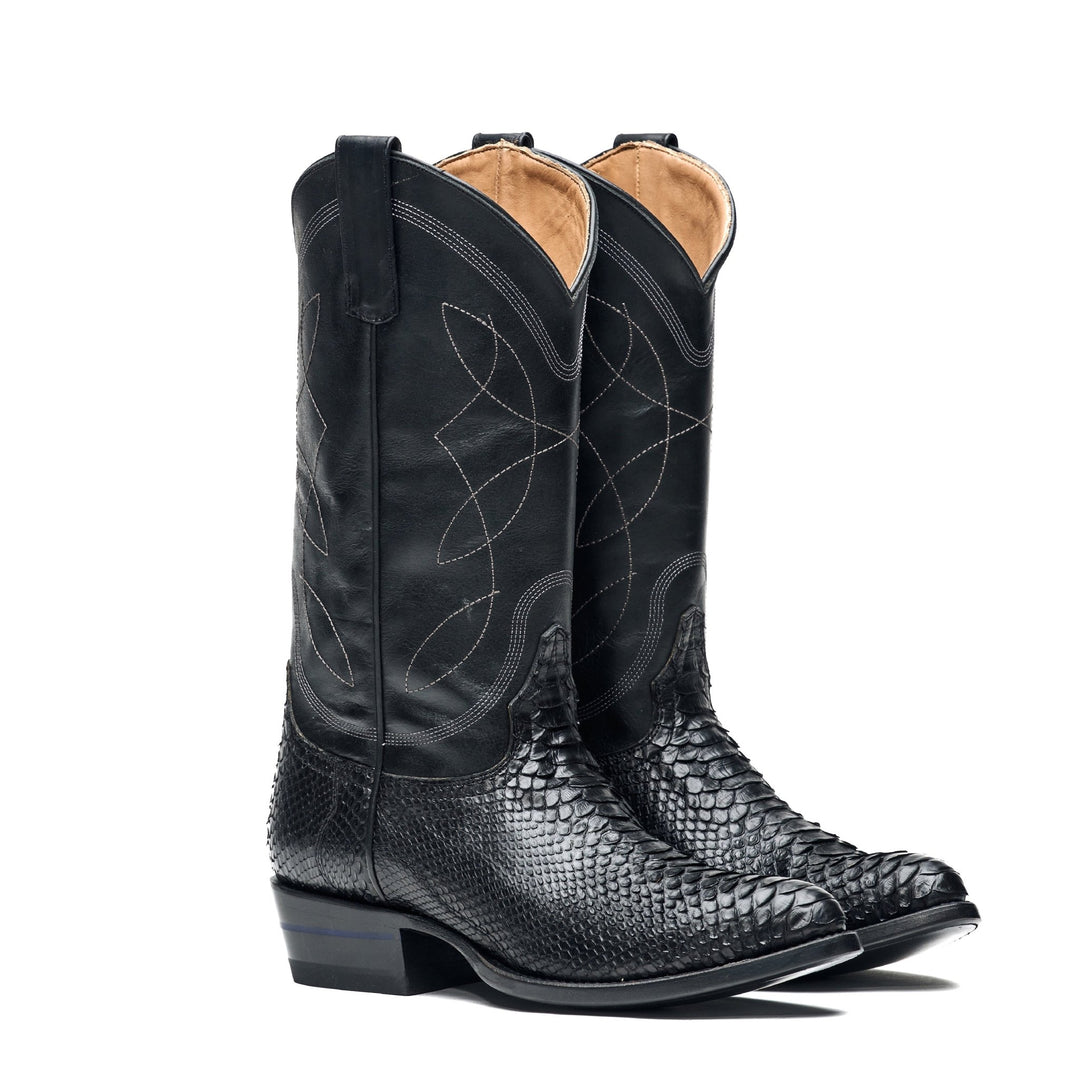
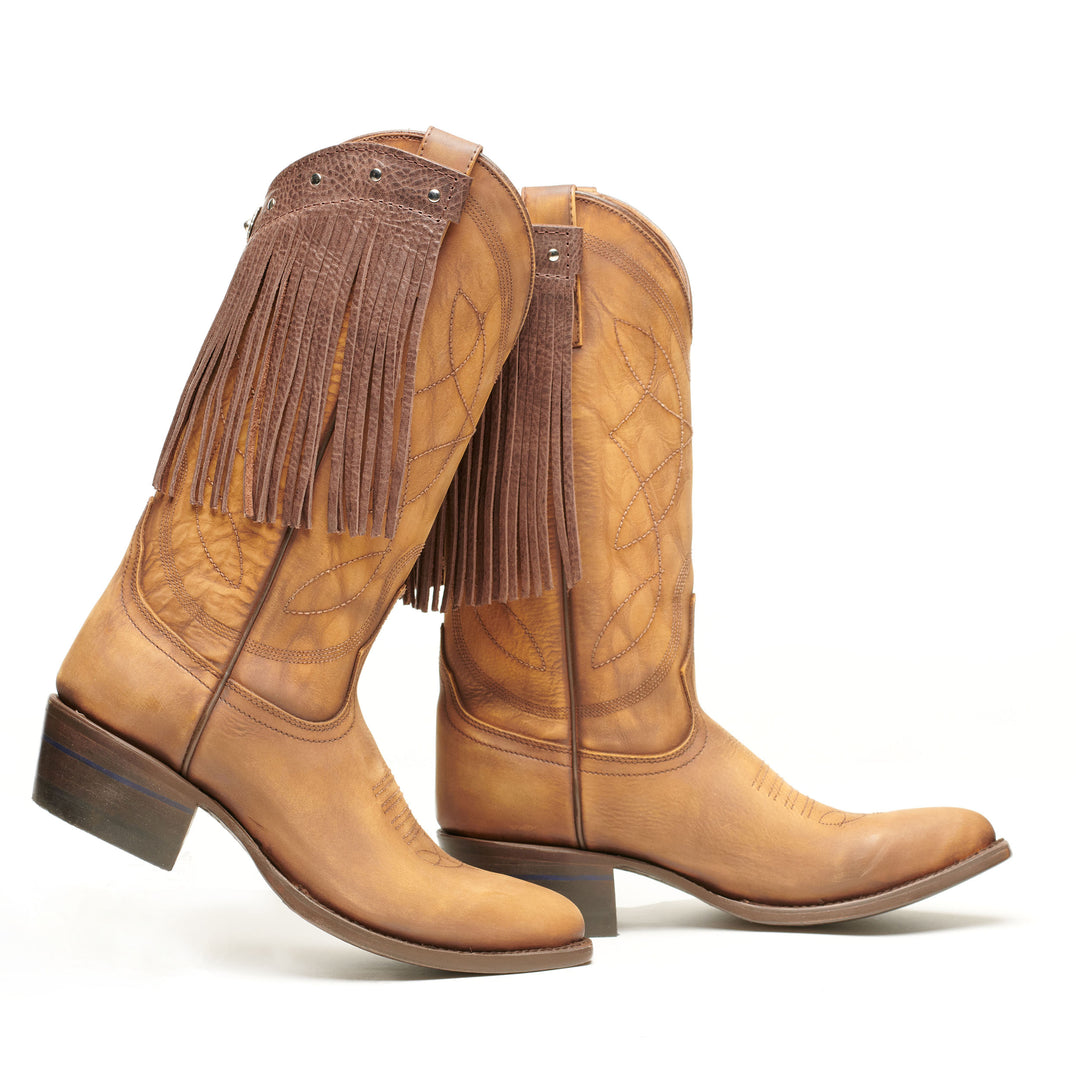
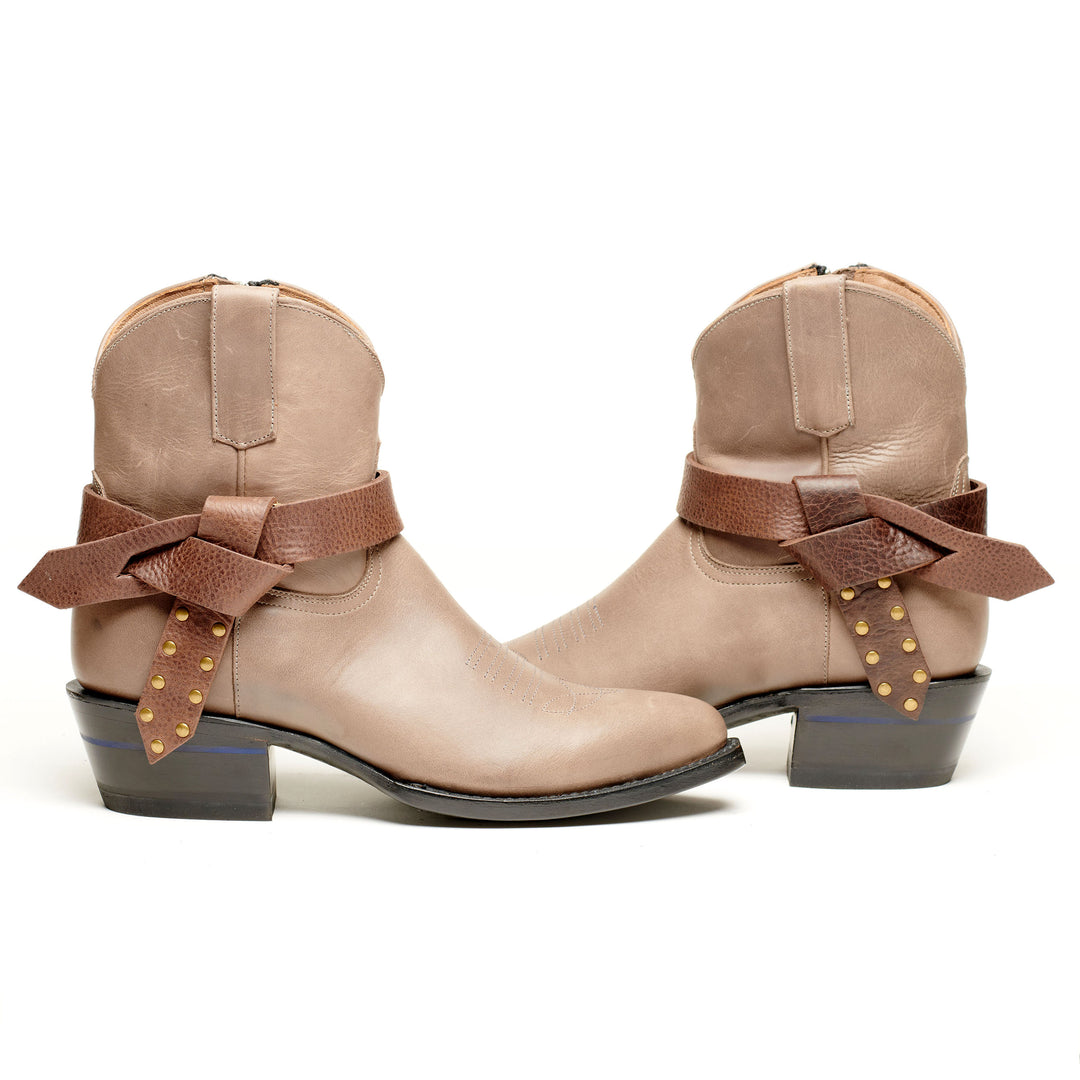
The best way to make sure you get a perfect fit is to shop Alvies Boots and let our fast-break in fit do the heavy lifting. You can also
use our fancy-online Fit Sherpa to find your perfect size. It helps figure out what you wear in Alvies boots based on the sizes of other shoes you own.


Leave a comment